Machining LEGO Bricks
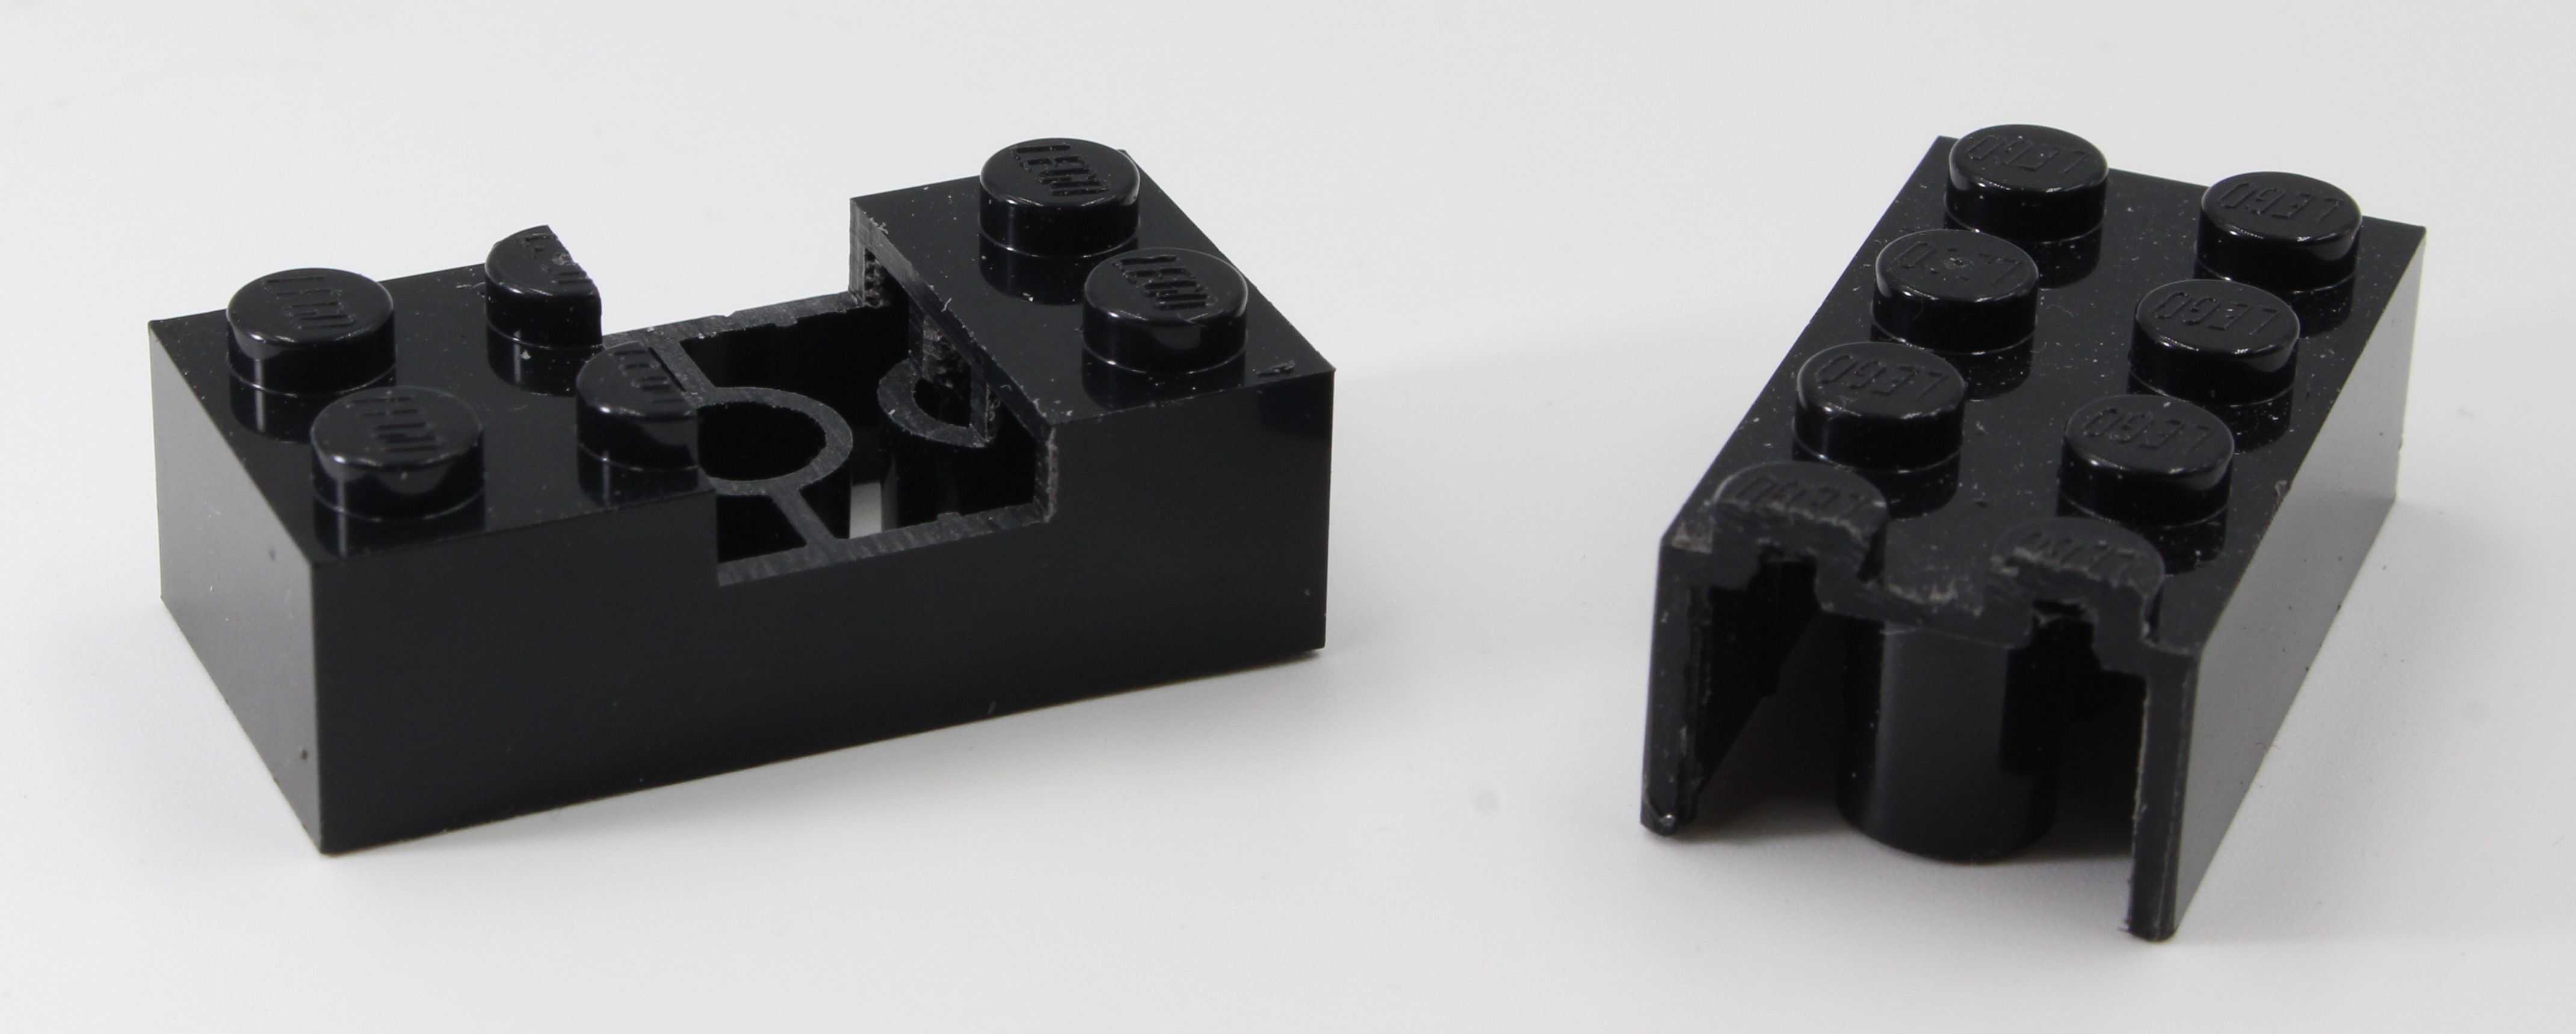
Sometimes I want to alter the shape of LEGO bricks, such as by shortening them or creating a slot. The picture above shows two such brick modifications, made by CNC carving on a Snapmaker (snapmaker.com). I found such machined bricks useful for a project to make an edge-lit sign from a piece of light-guide acrylic, as in the photo below of an anniversary gift for my wife. This light-guide acrylic (www.inventables.com/technologies/lucite-light-guide-acrylic-sheet) is an interesting innovation that uses microscopic particles imbedded in the plastic to scatter light. So with edge lighting, the acrylic has an eye-catching glowing effect.
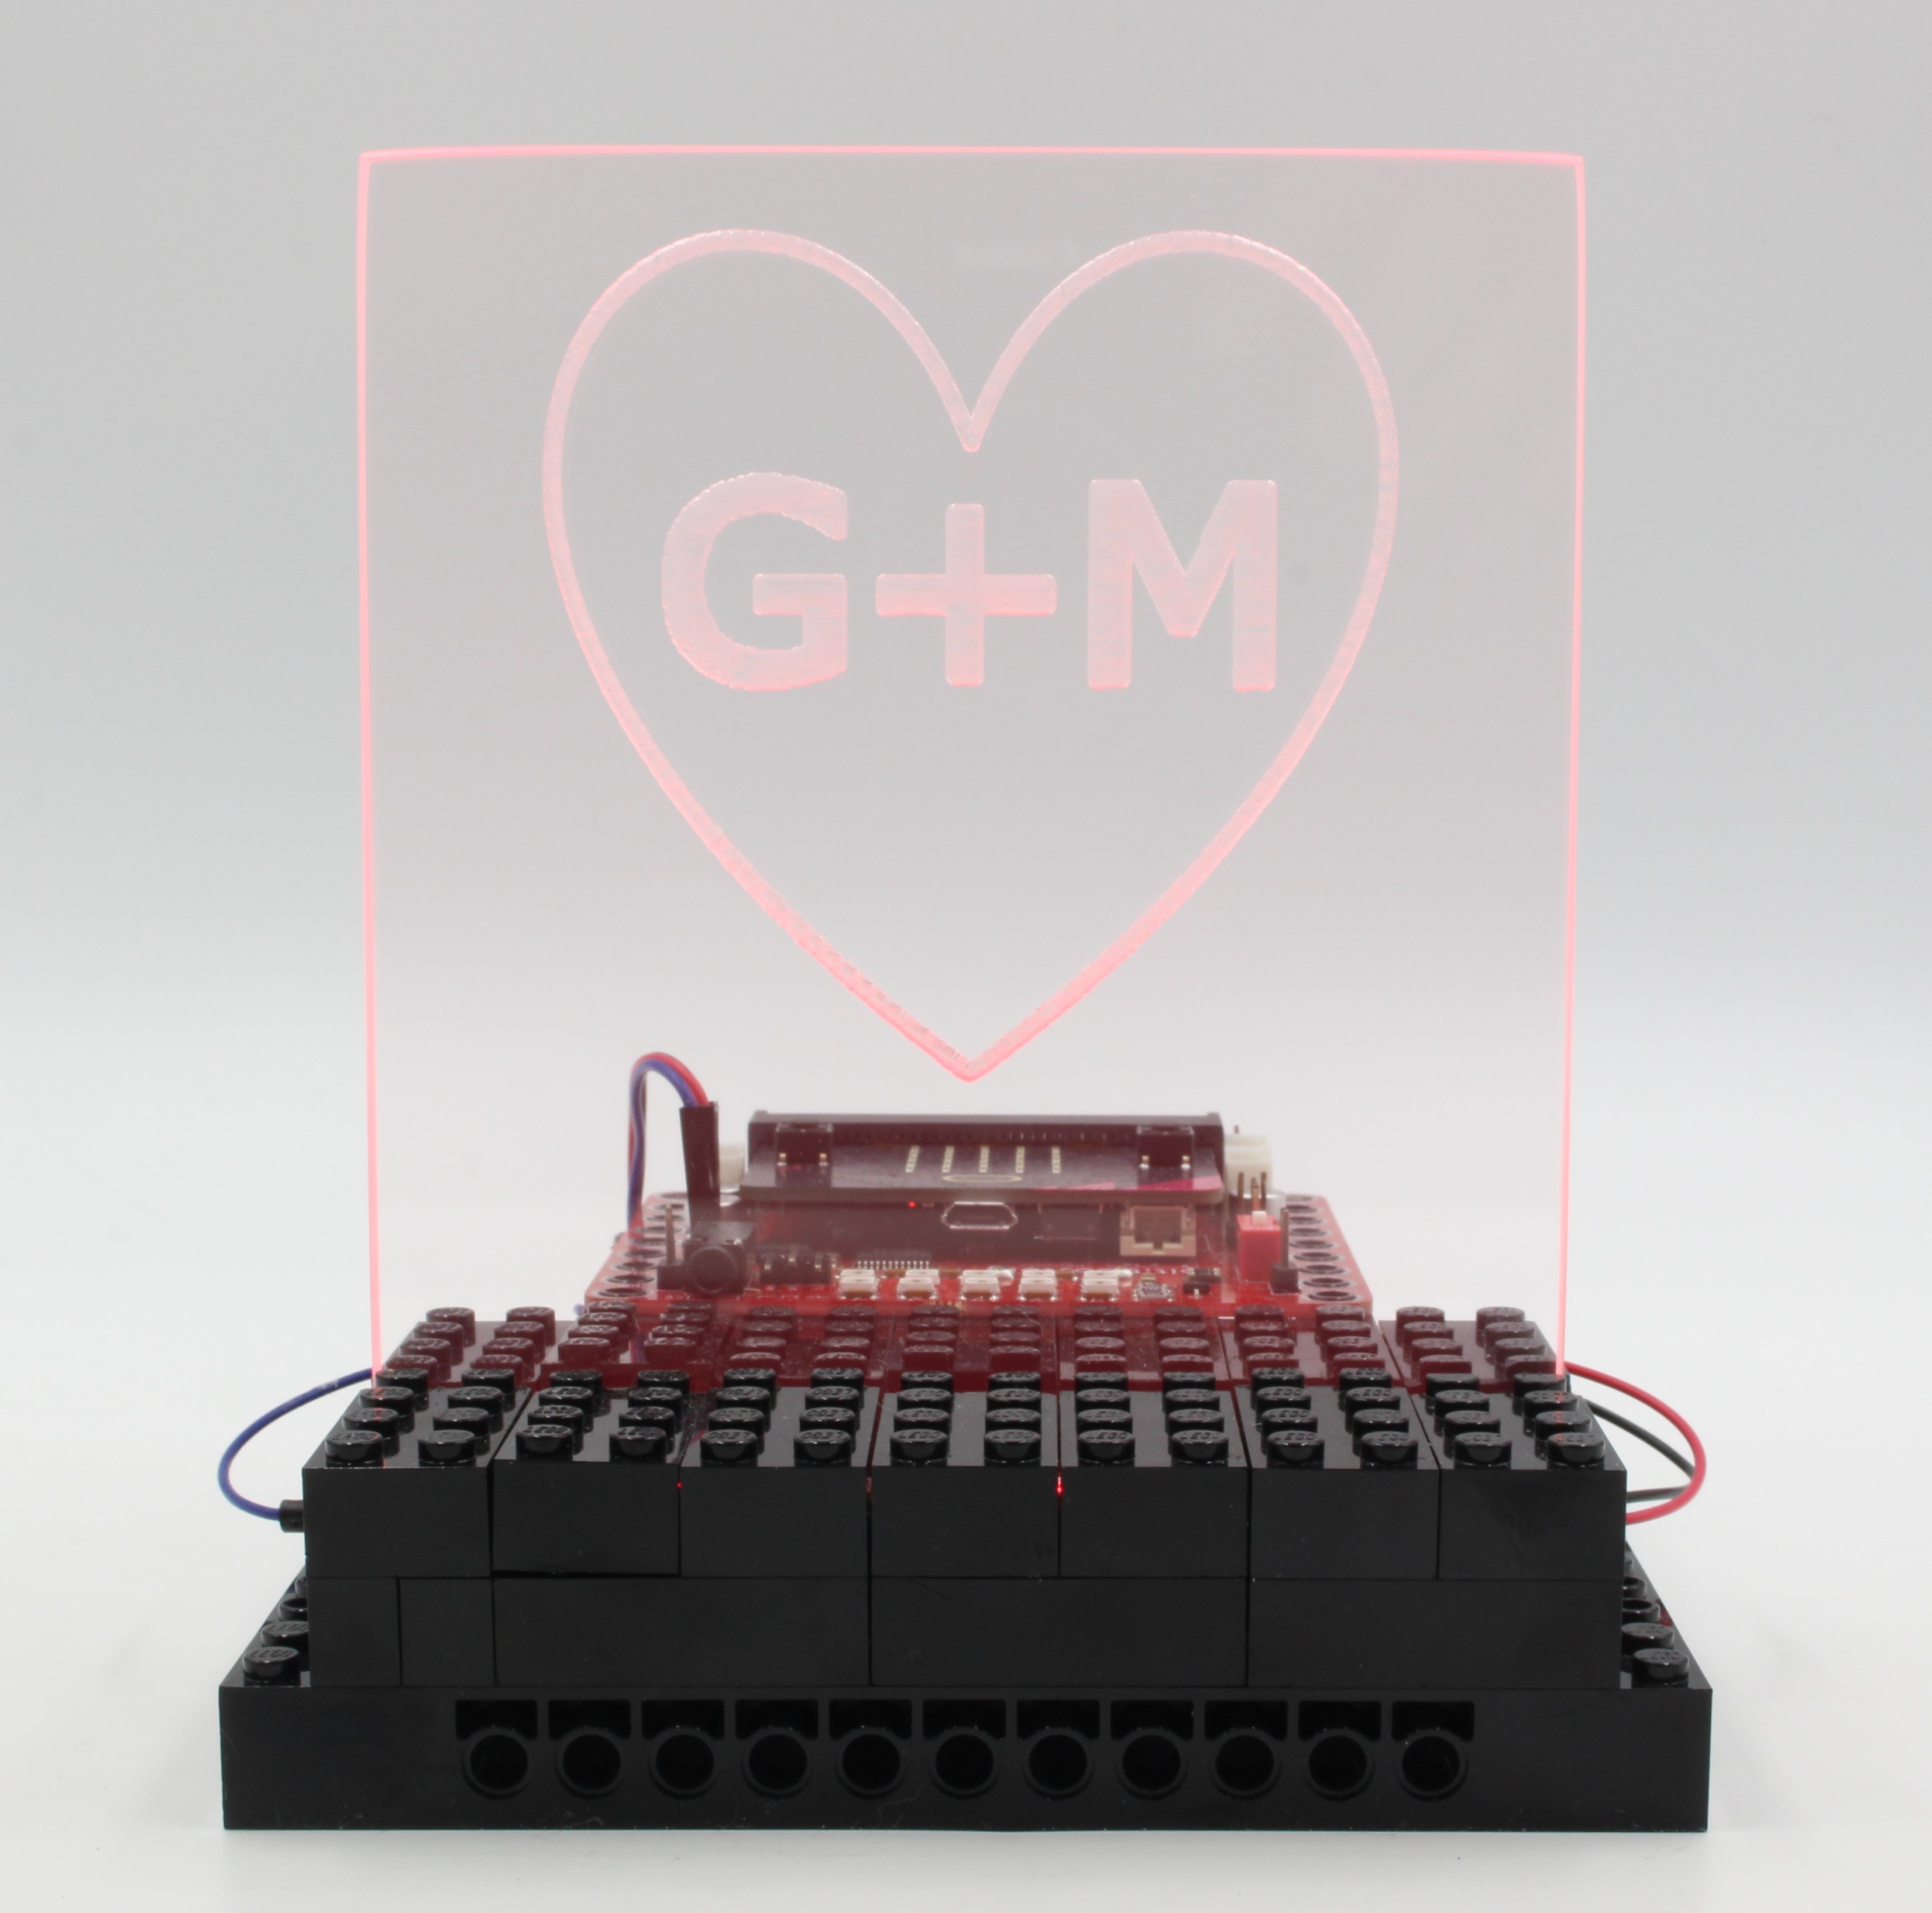
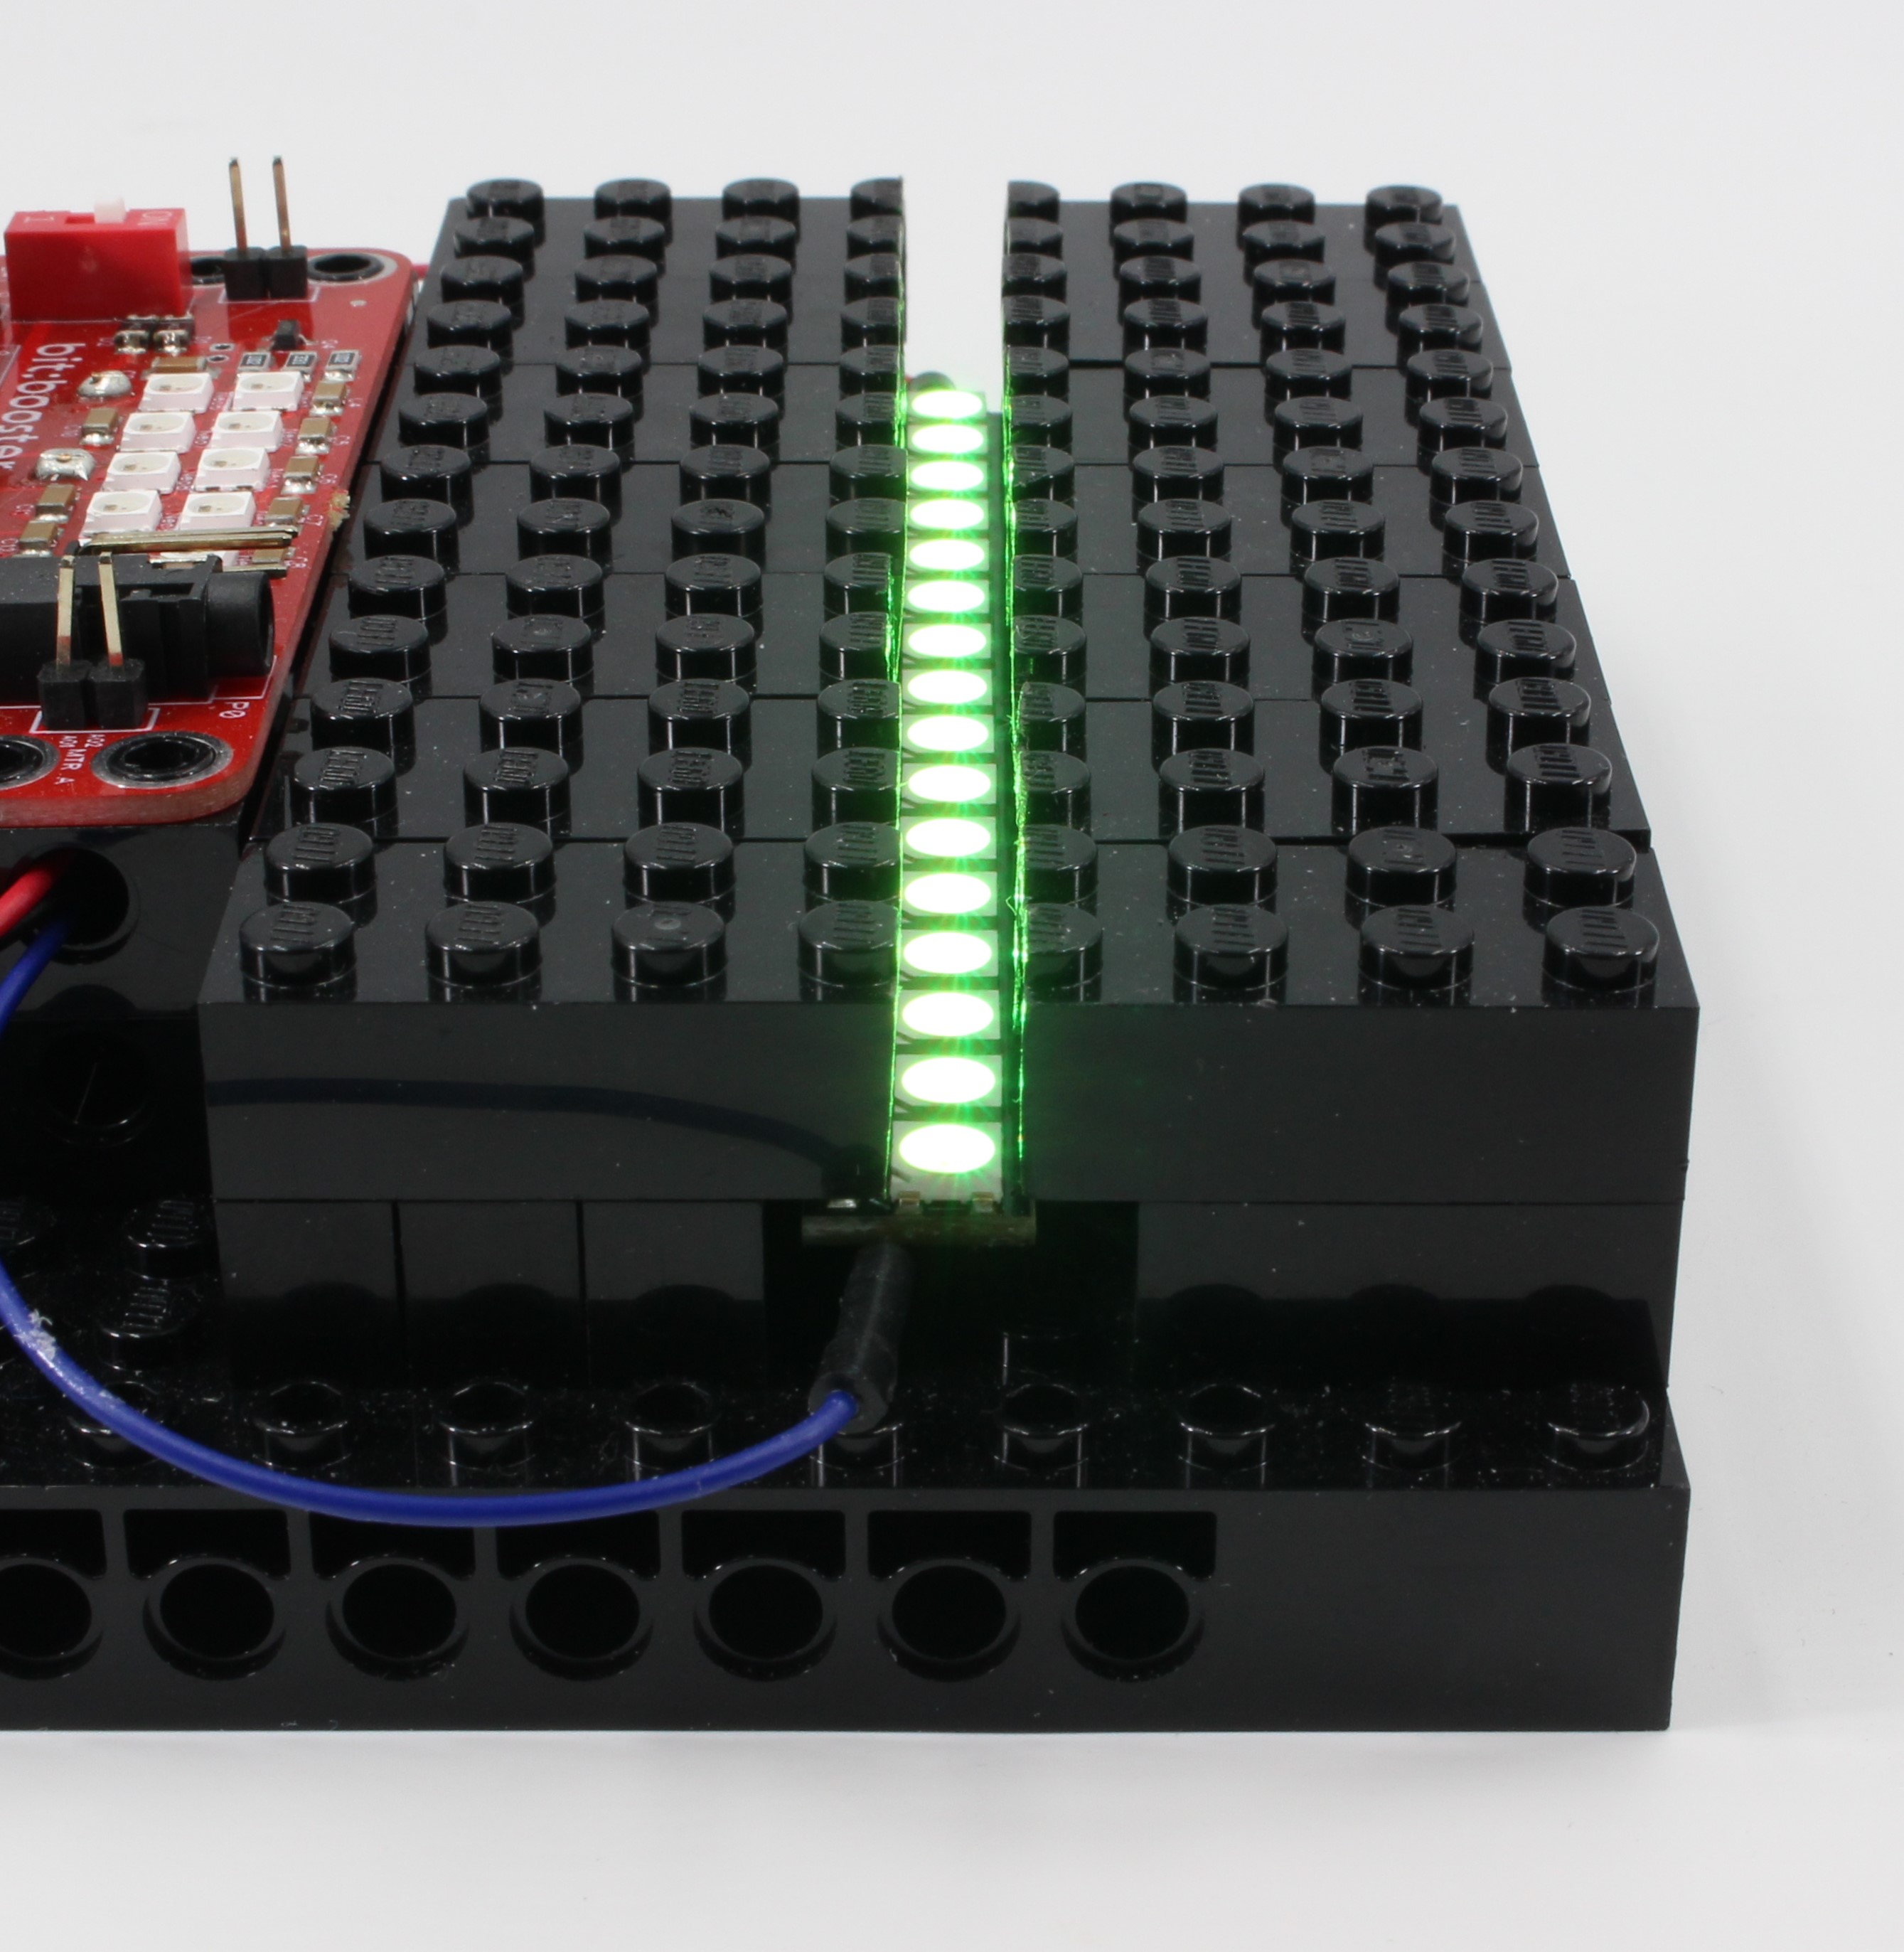
I built the lighting with two neopixel sticks (www.adafruit.com) installed into a machined slot, as in the photo below. This slot is made from 8 bricks, all with a slot as in the picture at the top of the page. All 8 bricks were machined at once, with the Snapmaker programmed to carve through all 8 bricks lined up on a LEGO baseplate. The neopixel sticks are lit up in the photo below, programmed for a slow color change of the light-guide acrylic. The acrylic sheet fits into this slot, so that edge of the acrylic rests on the neopixel array. Then to hold the acrylic sheet in place, I machined a set of bricks to attach on top of the slot bricks. These clamping bricks have the ends machined off, as in the photo at the top of the page, so that their customized lengths put a gentle squeeze on the acrylic sheet. I build the color changing effect for the neopixels with a Python program hosted on a Micro:bit via a Bit:Booster (www.lectrify.it)--see my earlier posts on "The Bit:Booster" and "The Shooting Star Generator" for more on the Bit:Booster.
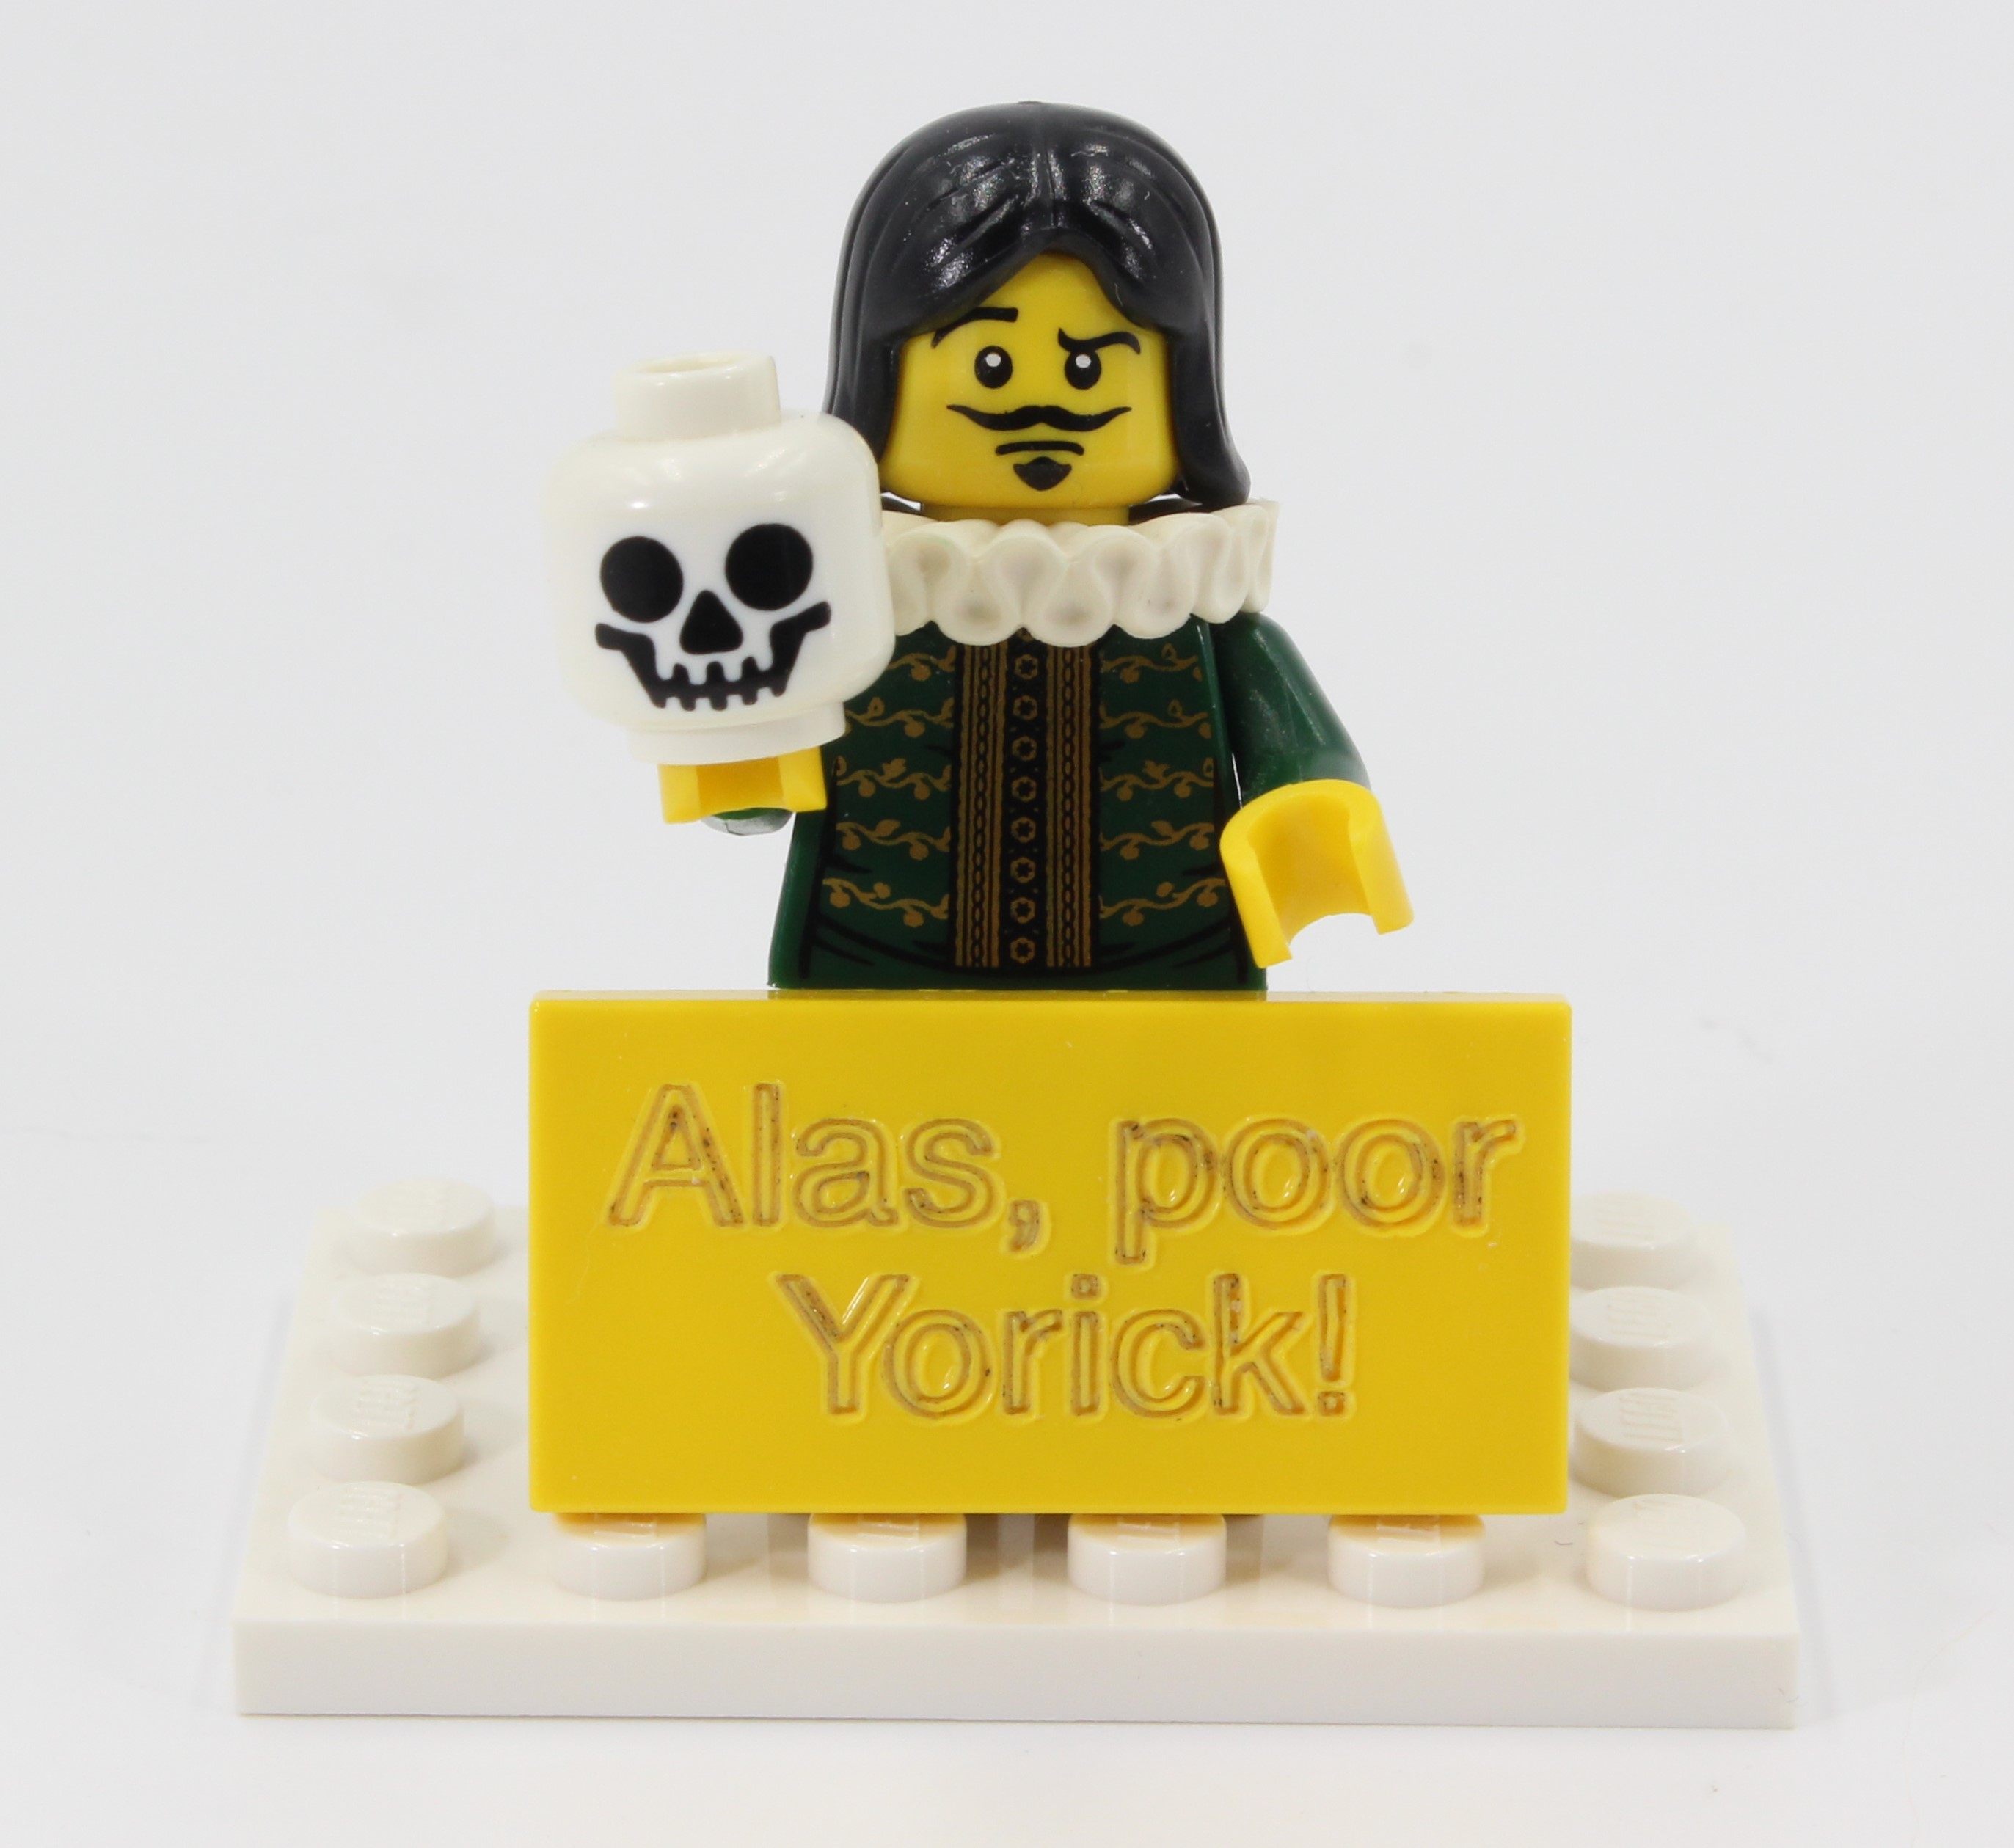
An interesting feature of the Snapmaker is that is has interchangeable heads to allow either 3D printing, CNC carving, or laser engraving. I tried the laser engraving on LEGO, with an example in the photo below of text engraved onto a 2x4 tile. Laser engraving on LEGO is actually a bad idea, since melting ABS plastic creates fumes that shouldn't be inhaled. So I don't recommend reproducing my experiment. I ran the laser engraving in an open garage, with a fan blowing across the maching process to blow away fumes. I also left the area during the engraving process so I wouldn't be exposed to fumes. The Snapmaker's laser is at a blue wavelength, so results vary with the color of the LEGO piece under engraving, with some LEGO colors absorbing the blue wavelength more than others. I found yellow and green bricks to work best for laser engraving.
